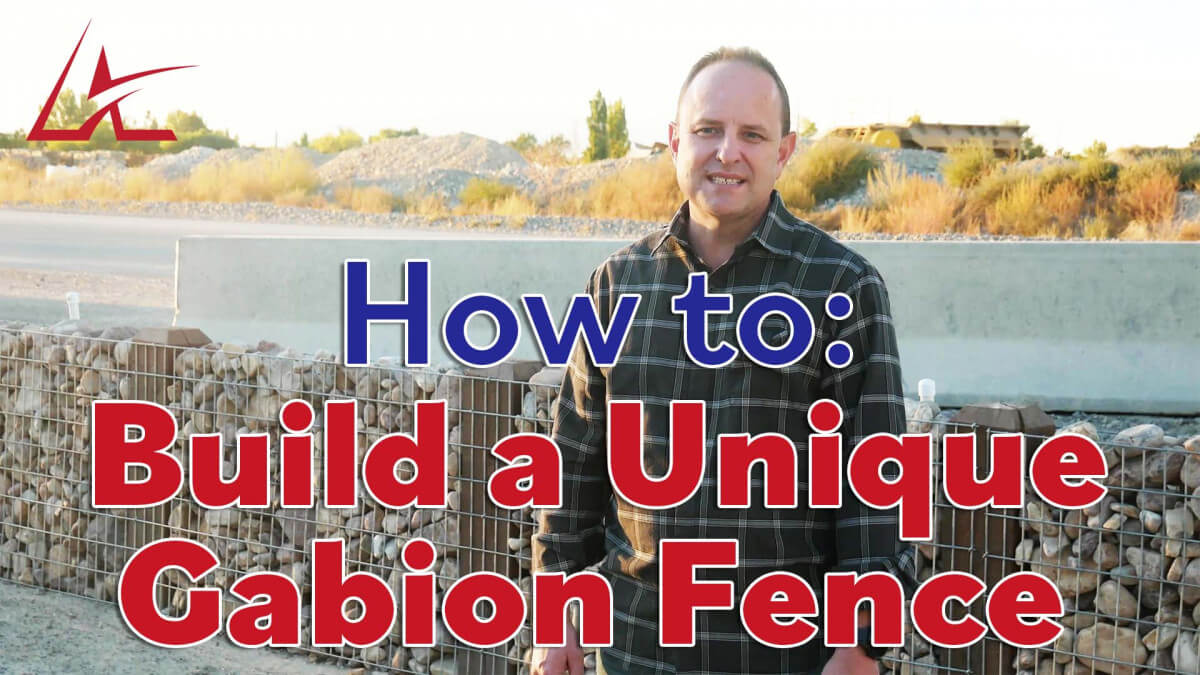
How to Build a Gabion Fence
WHAT IS A GABION FENCE?
The word Gabion comes from an Italian word for 'big cage.' It was the Italians who first used these types of structures to stabilize shorelines, stream banks, and slopes.
Here's how to bring an Italian flavor to your yard:
First: Mark where the posts will be placed. We chose to have them a little more than 5 feet apart.

Second: Dig the holes for each post. (These could be dug by hand but when you have the right equipment it makes things so much easier.)

Third: Set the Posts! Set using a fence post level to square all sides and quick setting post mix was to anchor them to the ground. We used 8" square 10 foot long cedar posts which we cut in half. We also added a few cuts to the top to give it a decorative look.

Fourth: Check your work! It's important to make sure each post is not only level but also aligned the others. *Tip- Set the two end posts first and then ran a string line between the two to align the other posts.

Fifth: Use a tinted Polyurethane to enhance the color as well as protect the posts from the weather.

Next: Cut the wire fence panel to fit and attached each panel to the posts using long fence staples. We recommend wiring the fence panels to each other in between the posts to reduce the amount of bowing in the fence and create a stronger cage.

Finally: Add the rocks to fill the cages. Choose a rock size larger than the gaps in your wire. We chose our 2-8" Rainbow River Rock.

Last: Once the rock is in place, wash it off. Rocks always looks better with the dust washed away.

Follow these steps to complete your own Gabion Fence!
Thanks for Learning with us today. Please check out our channel for other helpful videos or go to our website and sign up to have us send you a free gift.
https://www.youtube.com/channel/UCDCxU7tjF_-2ehiLMkhUthw
Until next time, let us know if we can help "Rock Your World".

